Step One
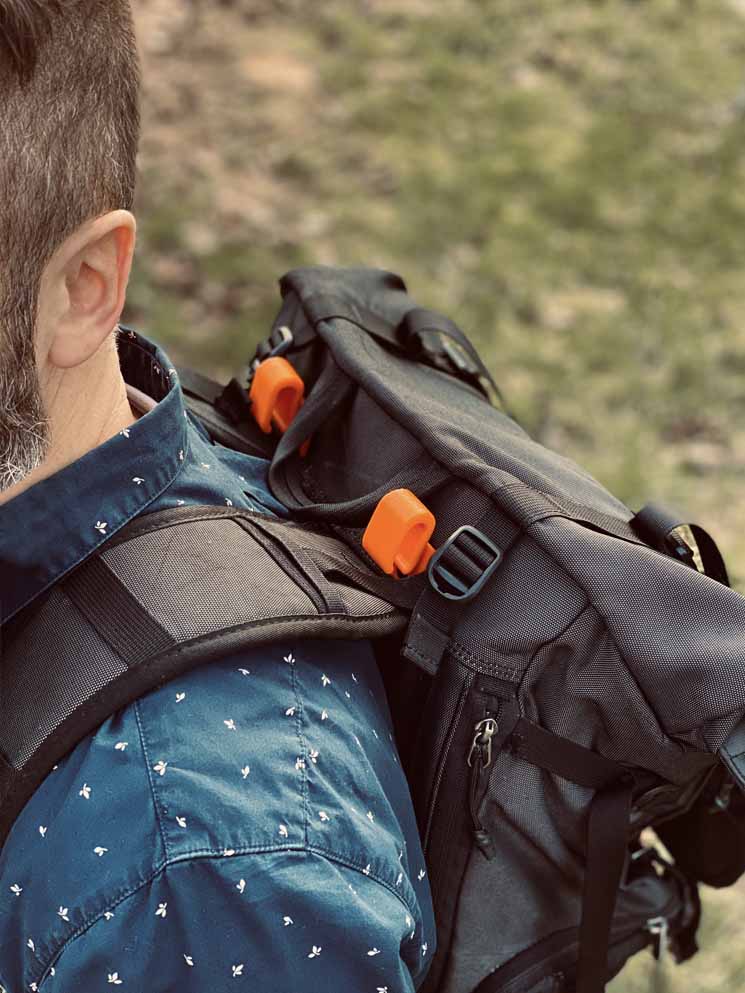
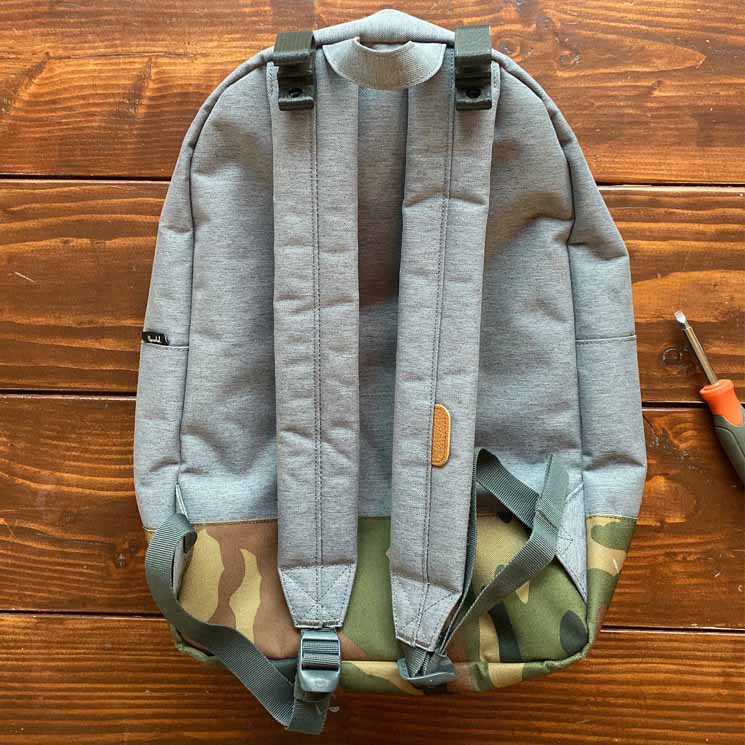
Your personal preference in placement is key. If installing on a backpack, a good choice is the space above the shoulder straps, if space allows. Otherwise, on the straps works great too. You could even install them on the front, side or any spot that works just right for your setup.
Once you've picked your preferred location, measure the distance between the hooks, and confirm they'll match well, width wise, once hooked to your bike rack rail.

Step Two
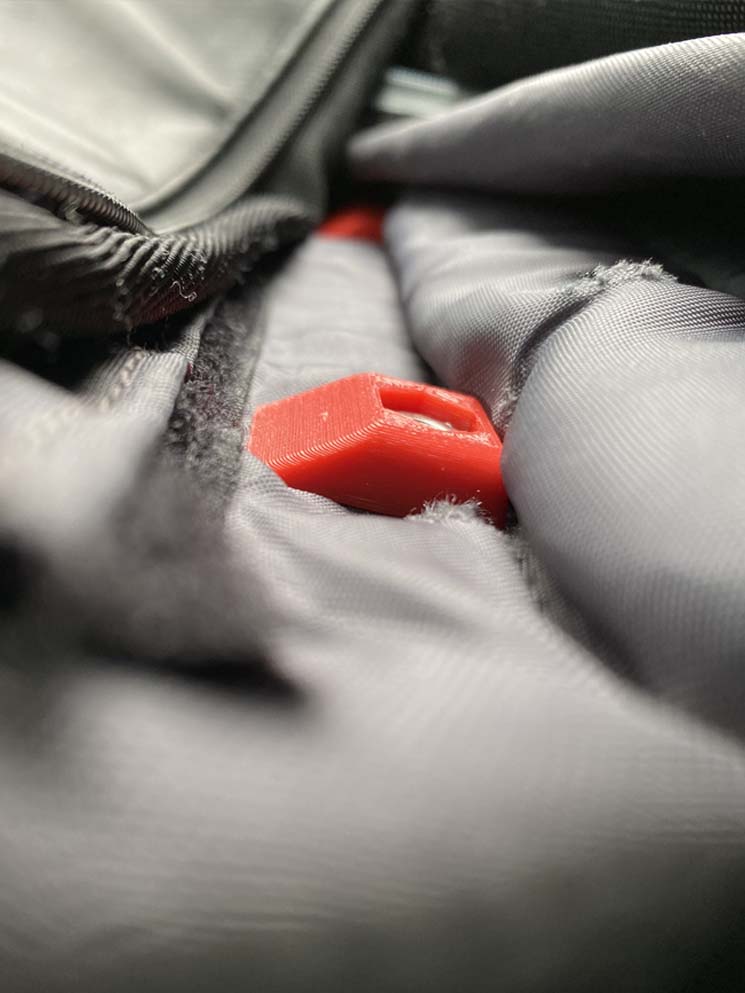
Using a mechanical pencil, mark your bag through the hardware hole for both hooks. Double check that the hooks look even. You know, all that good aesthetics stuff.
Use a 3/16 drill bit and create hole where each of the markings are. Double check that the drill hole size is good by partially screwing in the machine screws.
Step Three
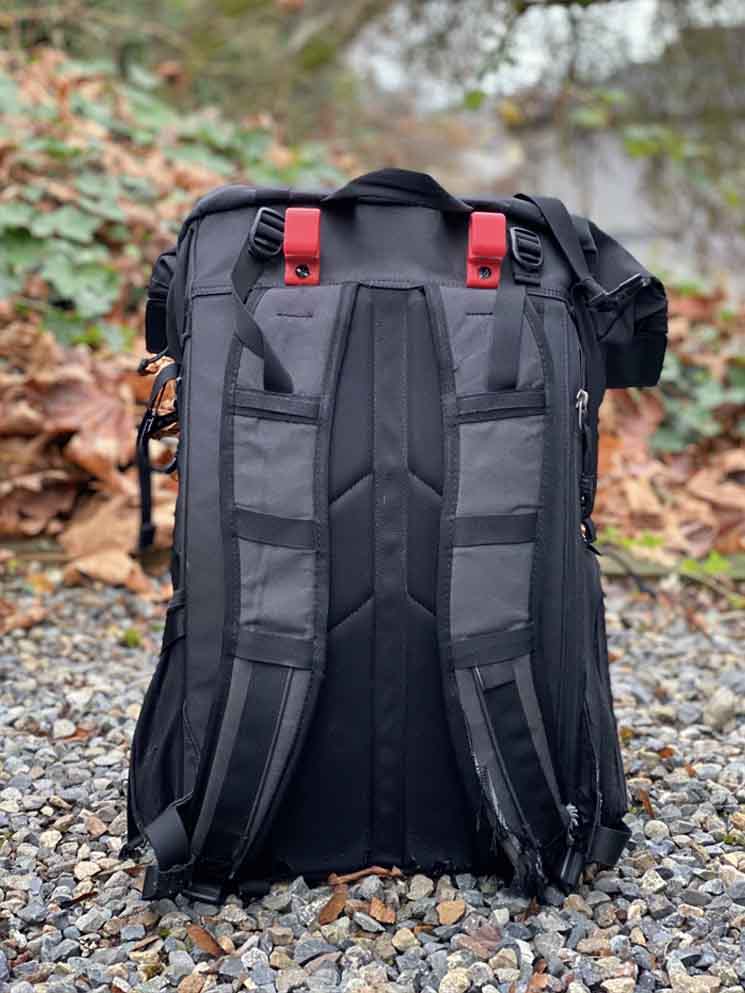
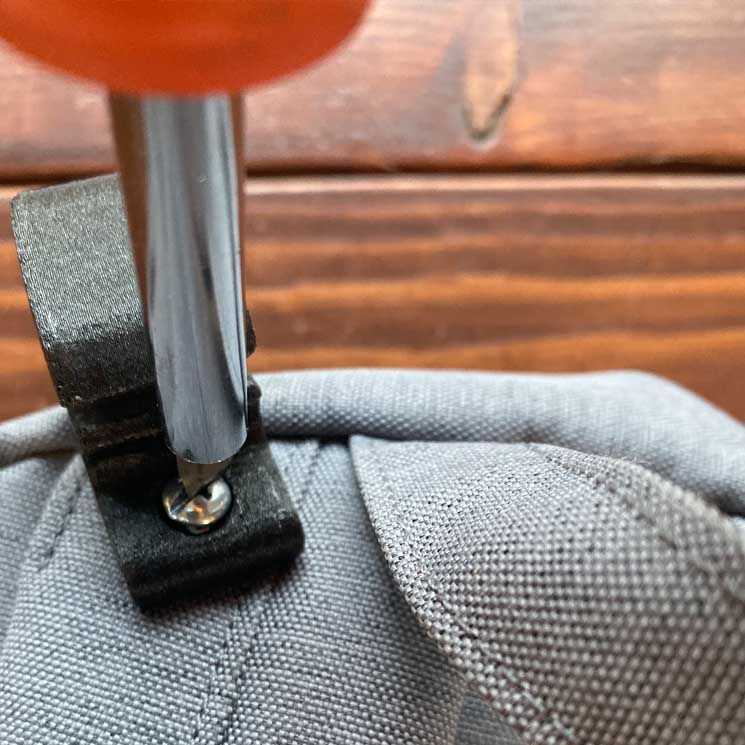
Time to wrap it up! Reverse the machine screws out of your bag. Place each hook back in position, aligning the pannier hook and the drilled holes. Grab your screwdriver and hand-turn the hardware through the pannier hook, the bag and lastly into the fastener/washer on the other side.
When things are nice and snug- boom, you're done!